


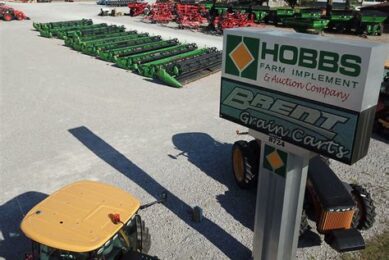
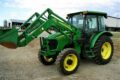
Hobbs Farm Equipment Inc. is a leading provider of high-quality agricultural machinery and equipment. With a wide...

Latest Posts

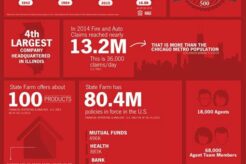
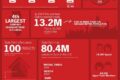
Curious about why State Farm Insurance is pricey? Factors like coverage options, location, and driving record can...


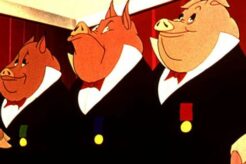
The characters in Animal Farm who display leadership qualities are Napoleon and Snowball, as they both strive...

Find out how long it takes for State Farm EFT to process your payments. Get informed and...
Find out how long it takes for State Farm EFT to process your payments. Get informed and...